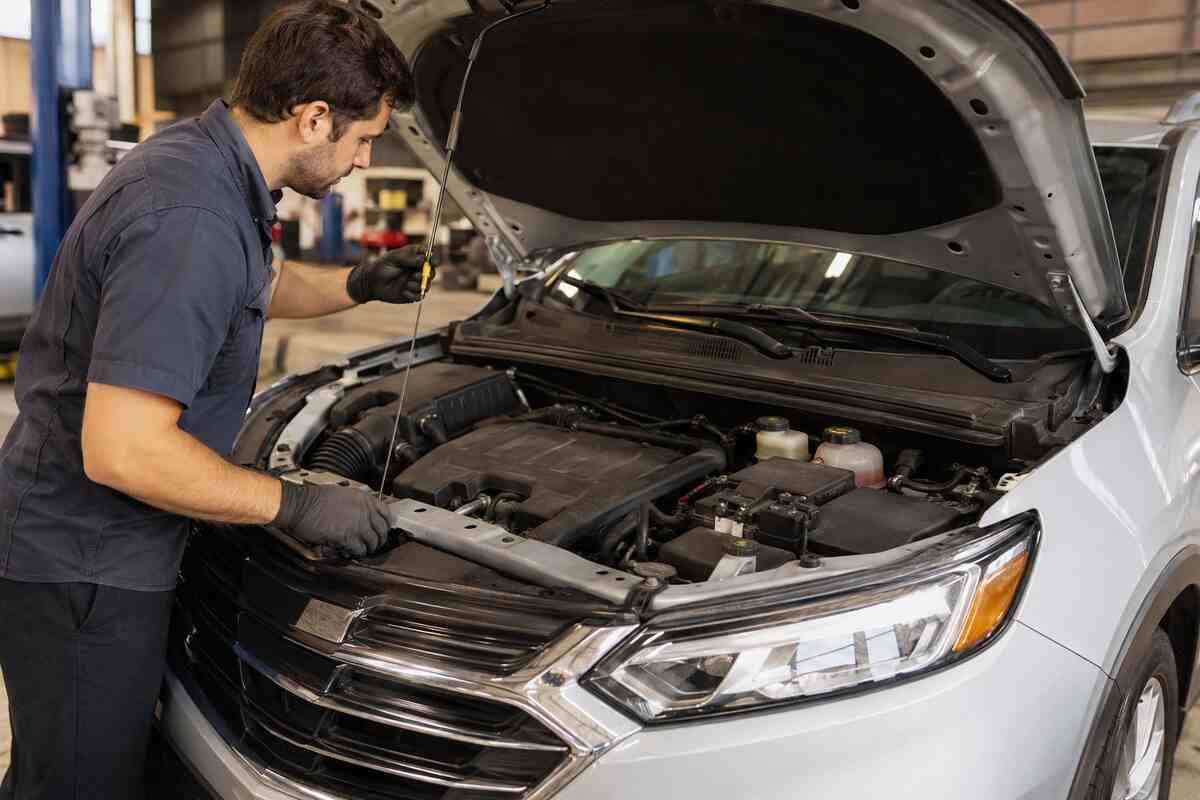

A car’s AC system operates as a closed loop, circulating refrigerant to cool the air inside your vehicle. The refrigerant is compressed and expanded, absorbing heat from the cabin and releasing it outside and requires frequent air conditioning recharge servicing to keep functioning optimally.
Over time, small leaks in hoses, seals, or the compressor itself can lead to refrigerant loss and reduced cooling capacity. Regular maintenance through air conditioning recharge Edmonton is typically required when this happens.
Components of a Car’s AC System
Key components of a car’s air conditioning system include:
- The compressor
- Condenser
- Receiver-drier or accumulator
- Expansion valve, and
- Evaporator
Refrigerant Type
Understand the type of refrigerant the vehicle utilizes. Older cars were frequently filled with R-12 (Freon), which was phased out for environmental reasons. Most modern vehicles are equipped with R-134a, and newer models are switching to R-1234yf.
This is because the wrong refrigerant can cause significant harm to the AC system. Check the sticker under the hood near the air conditioning components, or refer to the owner’s manual, to determine which refrigerant is used before recharging the air conditioning system.
Tools and Materials Needed
The following tools and materials are needed, and they are all available at most auto parts stores.
- Safety glasses and gloves — refrigerant can cause frostbite on skin contact
- Correct refrigerant can — R-134a or R-1234yf depending on your vehicle
- Recharge kit — includes a gauge set and dispensing hose
- Can tap — to pierce the refrigerant can and connect it to the hose
- Screwdriver or wrench — to remove protective caps from service ports
- Flashlight — to locate the low-pressure service port
- Clean rag — to wipe up any spills
Steps to Follow
Step 1: Prepare the Vehicle
Open the bonnet and locate the low-pressure service port — typically found on the wider of the two pipes connecting to the AC system, usually between the compressor and evaporator. It is commonly marked with an “L” and may have a blue or black cap.
Remove the cap, then start the engine and turn the AC to maximum cooling with the fan at full speed and recirculation activated. Let it run for three minutes while confirming the compressor is running and the clutch is engaging. Once ready, connect your recharge kit’s hose securely to the port.
Step 2: Measure the Refrigerant Pressure
With the engine still running and the gauge connected, take a pressure reading. You will see one of four possible results:
- Caution: abnormal leak — do not proceed; have the system professionally inspected
- Pressure is low — refrigerant needs topping up
- Pressure is good — fill only until vent air turns cold; do not overfill
- Caution: pressure exceeding recommended levels — do not proceed; seek professional help
If a warning appears, stop immediately. Do not attempt to add refrigerant — take the vehicle to a trained technician instead.
Step 3: Add the Refrigerant
If the gauge confirms low pressure, disconnect it from the port. Shake the refrigerant can thoroughly, then screw it onto the gauge. Reattach the gauge to the port with the engine still running.
Squeeze the trigger on the canister while keeping the can upright and gently shaking it. Pause every 15 seconds to check the pressure reading. Continue adding refrigerant in short bursts, monitoring the gauge each time. Stop as soon as the needle reaches the green zone and cold air begins to flow from the vents. Never overcharge the system — excess refrigerant puts damaging pressure on the compressor.
Step 4: Disconnect and Finish
If the correct pressure is reached, close the pressure gauge set valve and remove the pressure gauge from the low-pressure service port. Put the port cap back in place, clean up any spills and check all functions after a few minutes of operation with the AC.
Safety Tips to Keep in Mind
If a fire occurs, use these safety tips to help keep you safe:
-
- Always wear safety glasses and gloves.
- Work in a well-ventilated area.
- Never use different types of refrigerants.
- Avoid overcharging — it will cause destruction of the compressor.
- If there is a suspected major leak, have the system professionally checked before recharging.
Troubleshooting Common Issues
If the AC still delivers warm air after recharging, it indicates a serious issue, such as a compressor fault, obstruction, or a large leak.
If the pressure doesn’t rise, check whether the compressor clutch is engaged and inspect the AC fuse.
If you hear a hissing noise or see oily discharge around the AC lines, there’s likely a leak. If the compressor clutch or AC control system is malfunctioning, it may show intermittent cold air.
If you need more than just a simple air conditioning recharge, it’s advisable to see a mechanic. If you’re in the area and would prefer to let the professionals handle it, a trusted service can provide diagnostics and a complete recharge, saving you time and ensuring the job is done correctly.